|
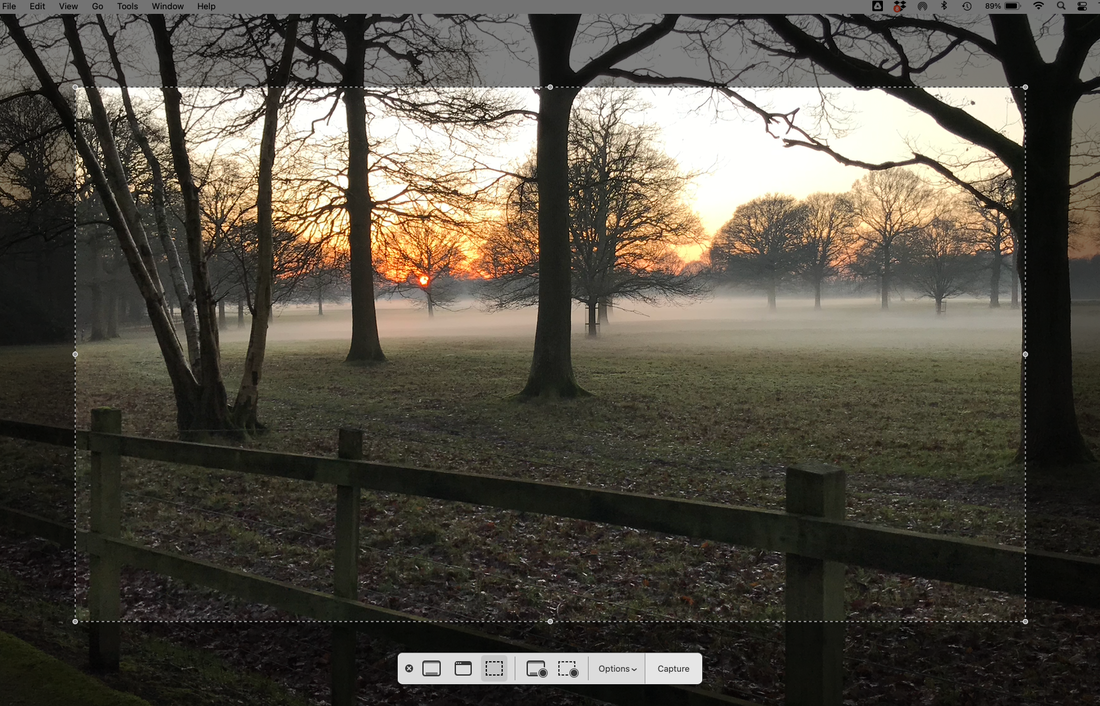
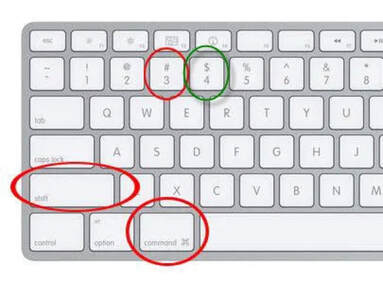
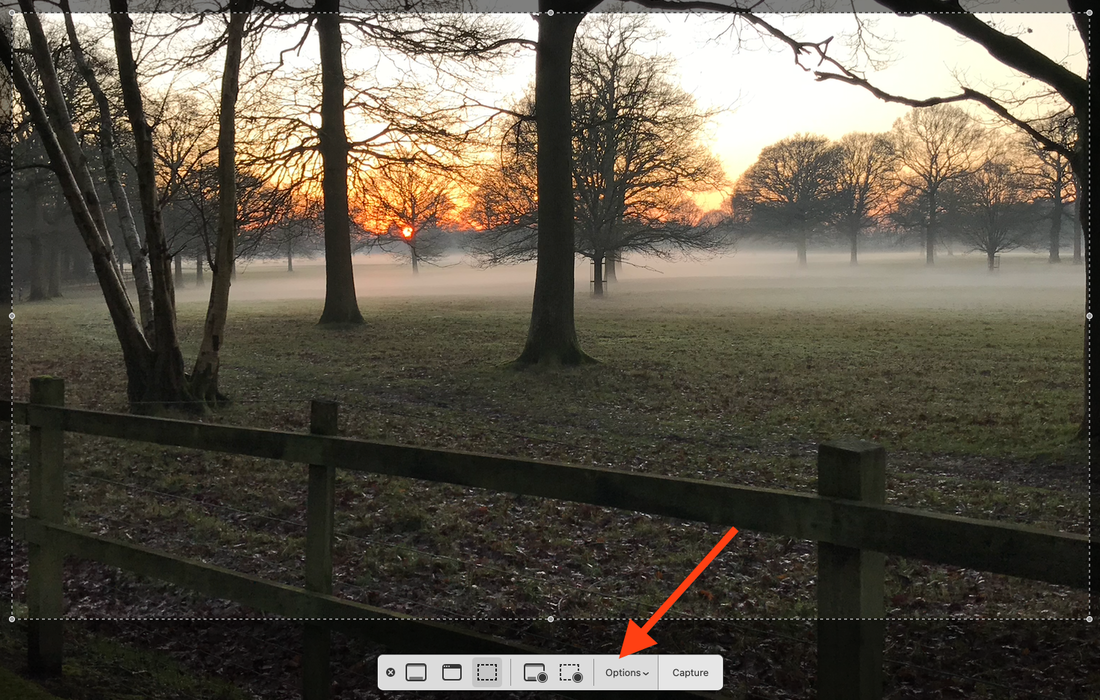
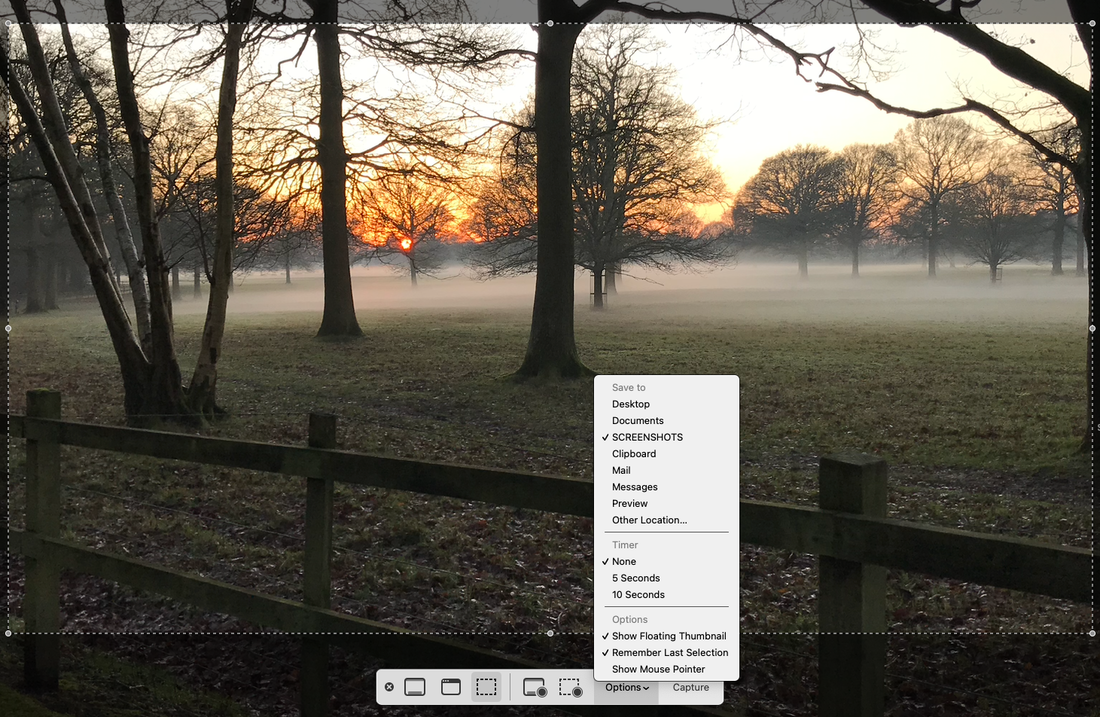
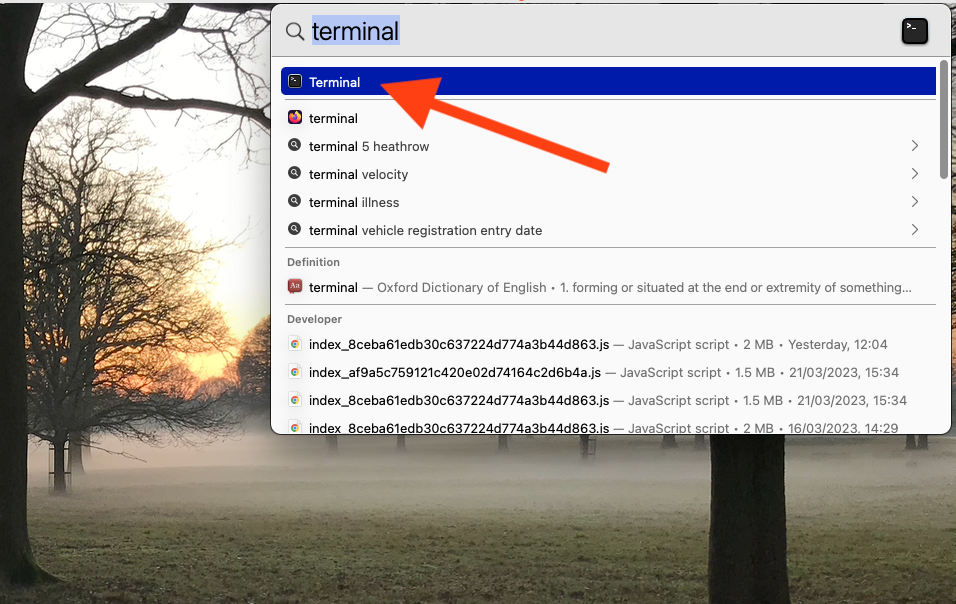
Screenshots on your Mac are automatically saved to your Desktop by default. However, if you tend to take a lot of screenshots, this can quickly lead to your Desktop becoming cluttered. But did you know that you can change the location your screenshots are saved to? Read on to find out more. Changing Screenshot Location in macOS Mojave or Later If you are using macOS: - Ventura - Monterey - Big Sur - Catalina, or - Mojave …you can use the Screenshot app to change the default save location for your screenshots. To open the Screenshot app, go to ‘Applications’ > ‘Utilities’ > Screenshot.app’. Alternatively, you can press ‘Shift’ + ‘Command’ +’5’, or press ‘Command’ + ‘Spacebar’ and type ‘Screenshot’ into the search bar that appears. You will then see a screenshot toolbar at the bottom of the window that appears. In this toolbar, click on ‘Options’ (second from the right). This will present you with a list of locations to choose from. If the location you would prefer is not in this list, select ‘Other Location’. You can now select a new location, including creating a specific folder for your screenshots. All new screenshots will now be saved to this location. Changing Screenshot Location in macOS High Sierra or Earlier If you are using: - macOS High Sierra - macOS Sierra - OS X El Capitan - OS X Yosemite - OS X Mavericks - or earlier …changing the default save location for screenshots is a bit more complicated, as you need to use Terminal. First, create a new folder on your Mac wherever you’d like to save your screenshots. Then open Terminal; the easiest way to do this is to use Spotlight. Click on the little magnifying glass icon in the top right-hand corner of the screen and type ‘Terminal’ into the search box. Then double-click on the Terminal app icon. In Terminal, write the command: defaults write com.apple.screencapture location It is important that you leave a space after the word ‘location’ before adding the following step. Drag and drop the folder you created earlier into the Terminal window (the folder’s location will appear in Terminal next to the command you have just written). Then press ‘Enter’. Finally, still in Terminal, type: killall SystemUIServer then press ‘Enter’ again. All new screenshots will now be saved to the folder you created. IMPORTANT! Important: do NOT delete the folder you created to save your screenshots to without first changing the save location in Terminal. To do this, follow the above procedure, but instead of ‘location’ and then dragging the new folder, type ‘~/Desktop’, like this: defaults write com.apple.screencapture ~/Desktop
0 Comments
|
|
Blue Apple Systems Ltd
Unit 6 Alfold Business Centre Loxwood Road, Alfold Surrey, GU6 8HP 01403 753666. |
Blue Apple Systems Limited is authorised and regulated by the Financial Conduct Authority. Blue Apple Systems Limited is not a lender, but a licensed credit broker, licensed to introduce borrowers and lenders
for the purposes of entering into short-term leasing agreements. Blue Apple Systems Limited does not charge customers a fee for using its broker services, but receives a 1.5% to 2% commission from lenders if a customer enters into a consumer credit agreement with a lender following introduction. © Blue Apple Systems Ltd 2015. All Rights Reserved. Blue Apple Systems Ltd is registered in the UK. Company registration number 05110252. VAT No 827058618. All prices are subject to VAT at the current rate of 20%. |

 RSS Feed
