
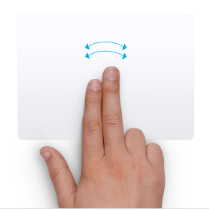
 Whilst many MacBook features can improve efficiency, sometimes they can be a bit… well… annoying! One such feature is the ‘swipe to go back’ gesture, which can be a nuisance if it triggers unintentionally, disrupting your workflow or browsing experience. Here we look at a simple way to turn off the ‘swipe to go back’ gesture on a MacBook.
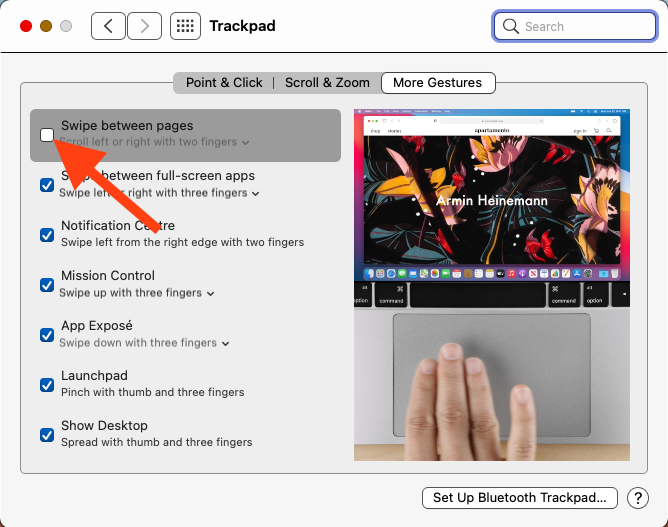 And that’s it! As you’ll see in the ‘More Gestures’ window, there are more gestures to explore (and if you don’t like them, you can just turn them off by unchecking the little boxes).
2 Comments
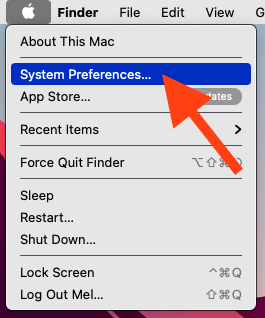
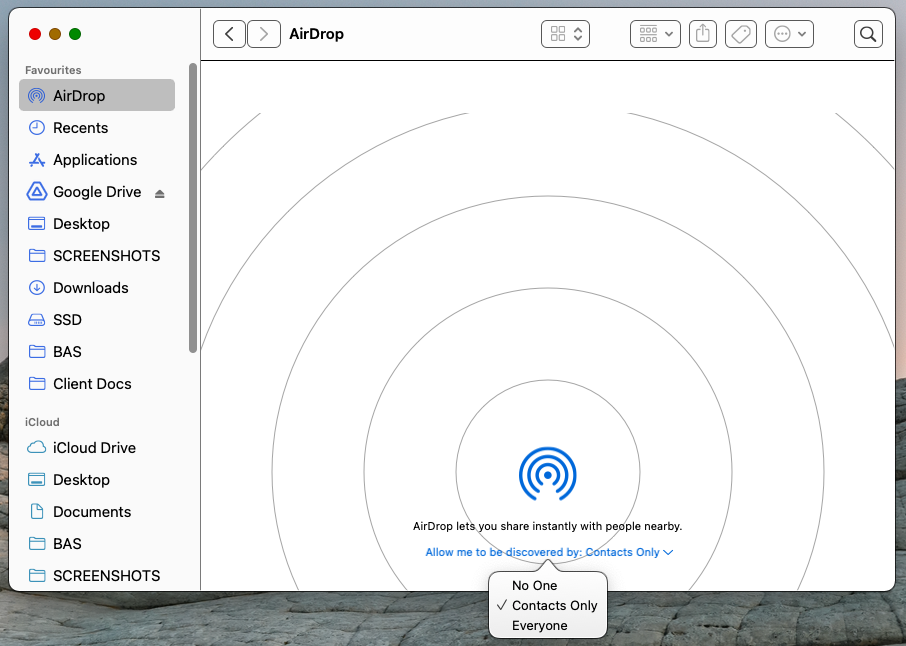
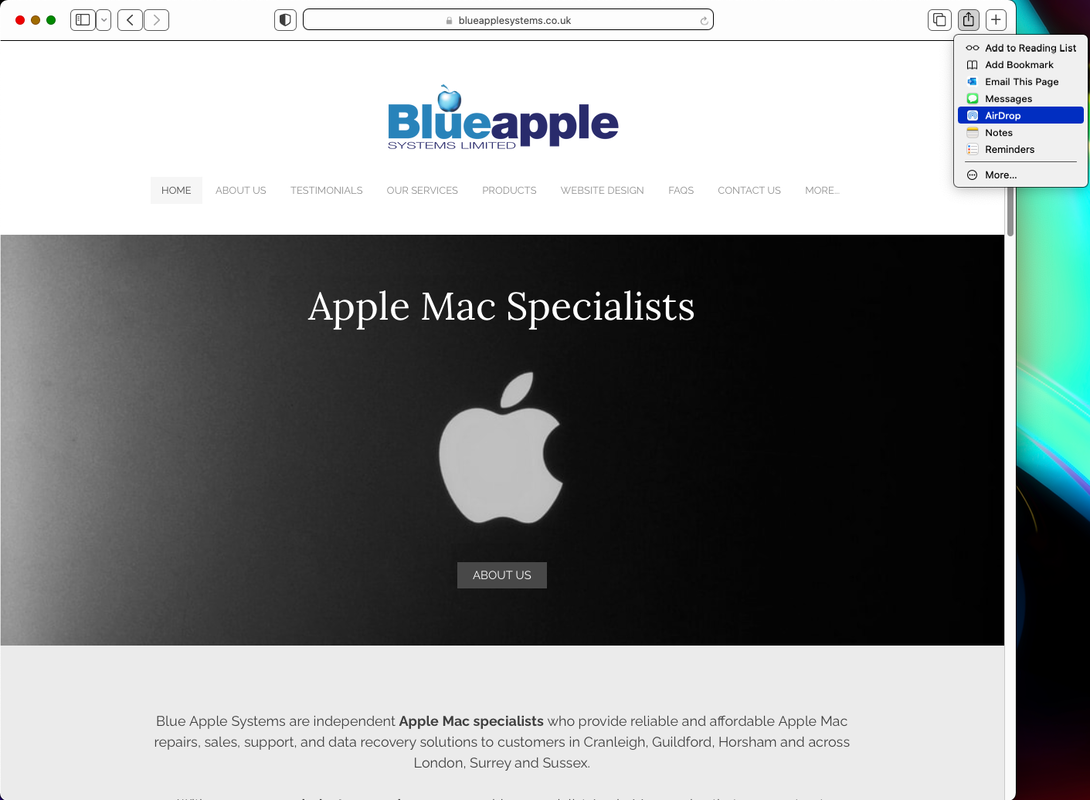
Learn how to use AirDrop to share photos, videos, pictures, files, contacts and web links to an iPhone, iPad or another Mac.  AirDrop uses Bluetooth to create a WiFi network between two Apple devices. It’s a very safe way of transferring data, as the devices sending and receiving the data create a firewall around the connection, ensuring that all files are sent encrypted. And there is no limit to the size of files that can be sent using AirDrop, unlike via email or other applications. To use AirDrop, both devices must be within 9 metres / 30 feet of each other and have AirDrop, Wi-Fi and Bluetooth turned on. Where is AirDrop on Mac and iPhone? That’s not super easy to answer, as AirDrop isn’t available as a standalone app. However, you can access it in several different ways. Turning on AirDrop on a Mac
Turning on AirDrop on an iPhone or iPad
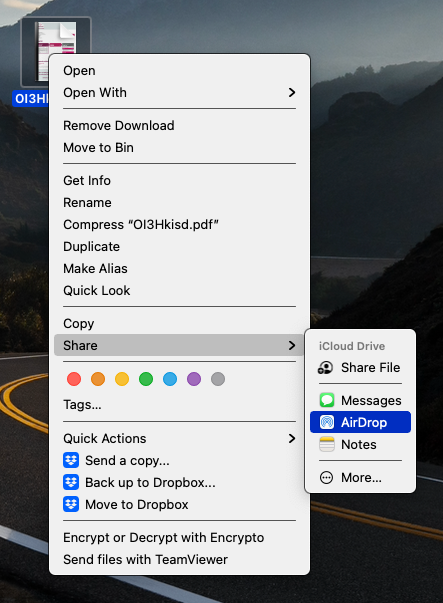
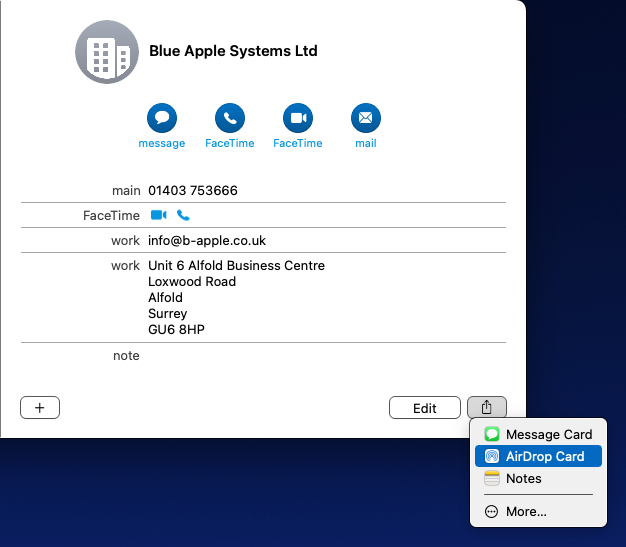
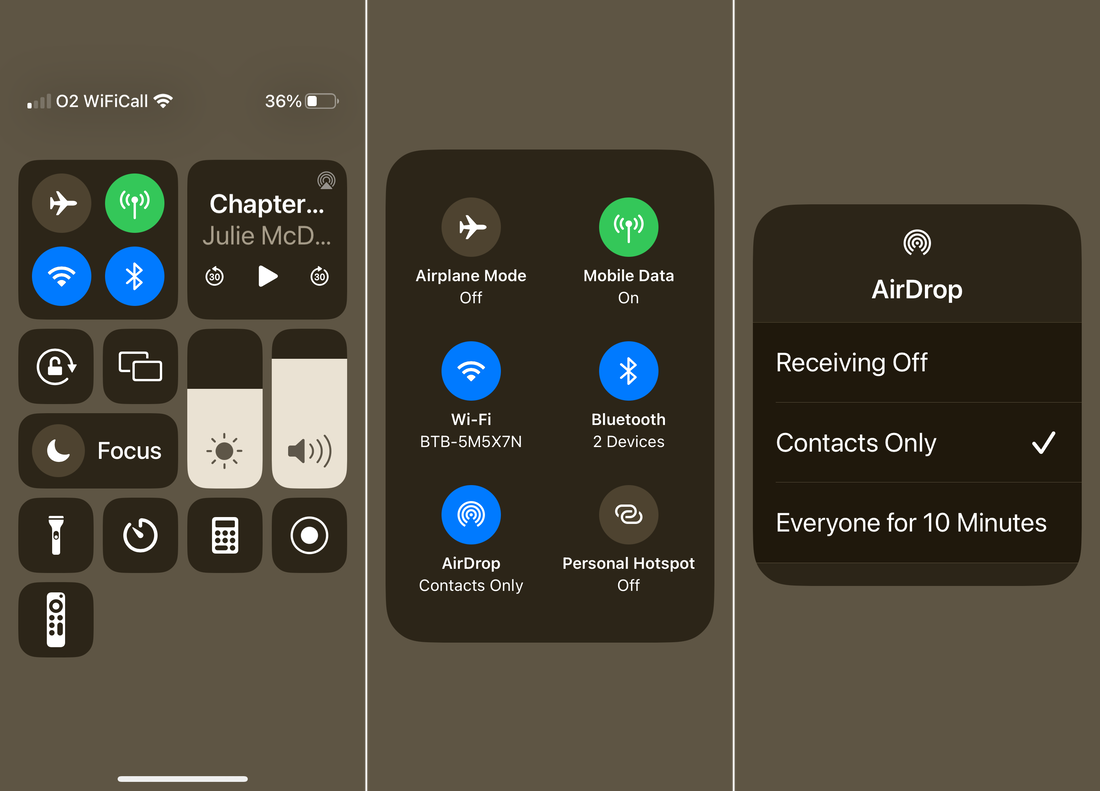 **If you select ‘Everyone’, your AirDrop name will then be visible to all nearby Apple devices, so be mindful of this while in public places. How to AirDrop from Mac to iPhone, iPad or another MacYou can send an item via AirDrop from your desktop, the Finder or from within apps such as Word, Photos or Contacts. Firstly, ensure that the person you want to AirDrop to has their iPhone, iPad or Mac unlocked.
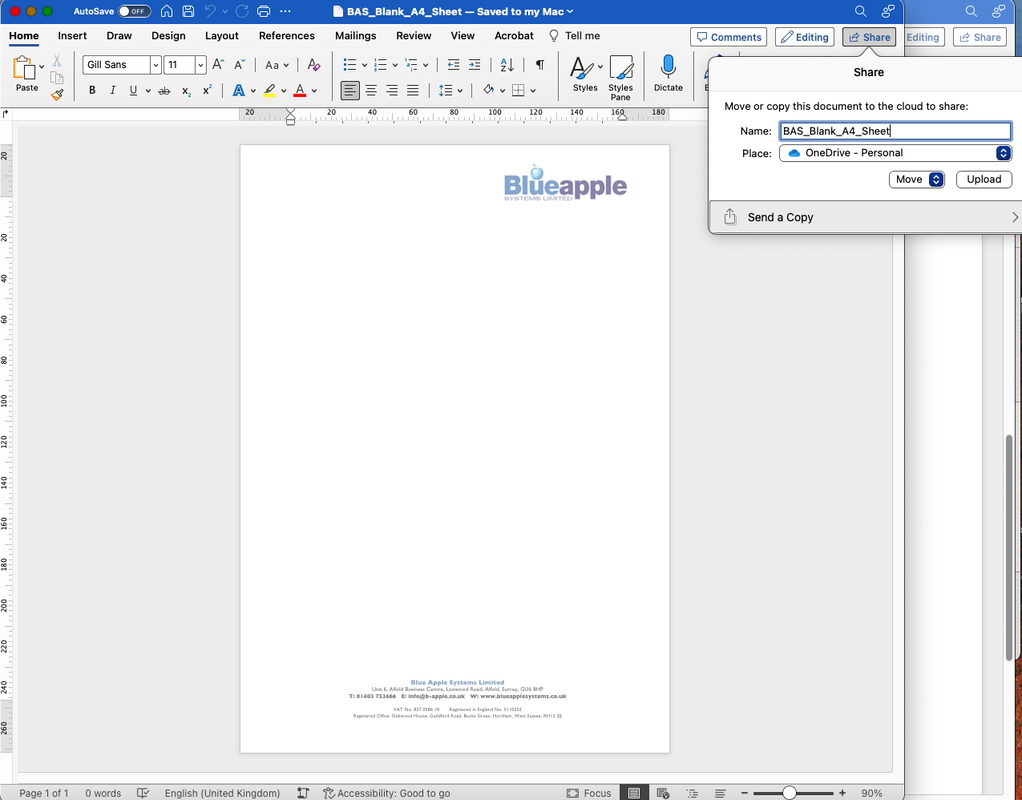
Sending from within Microsoft Word, Excel or PowerPoint:
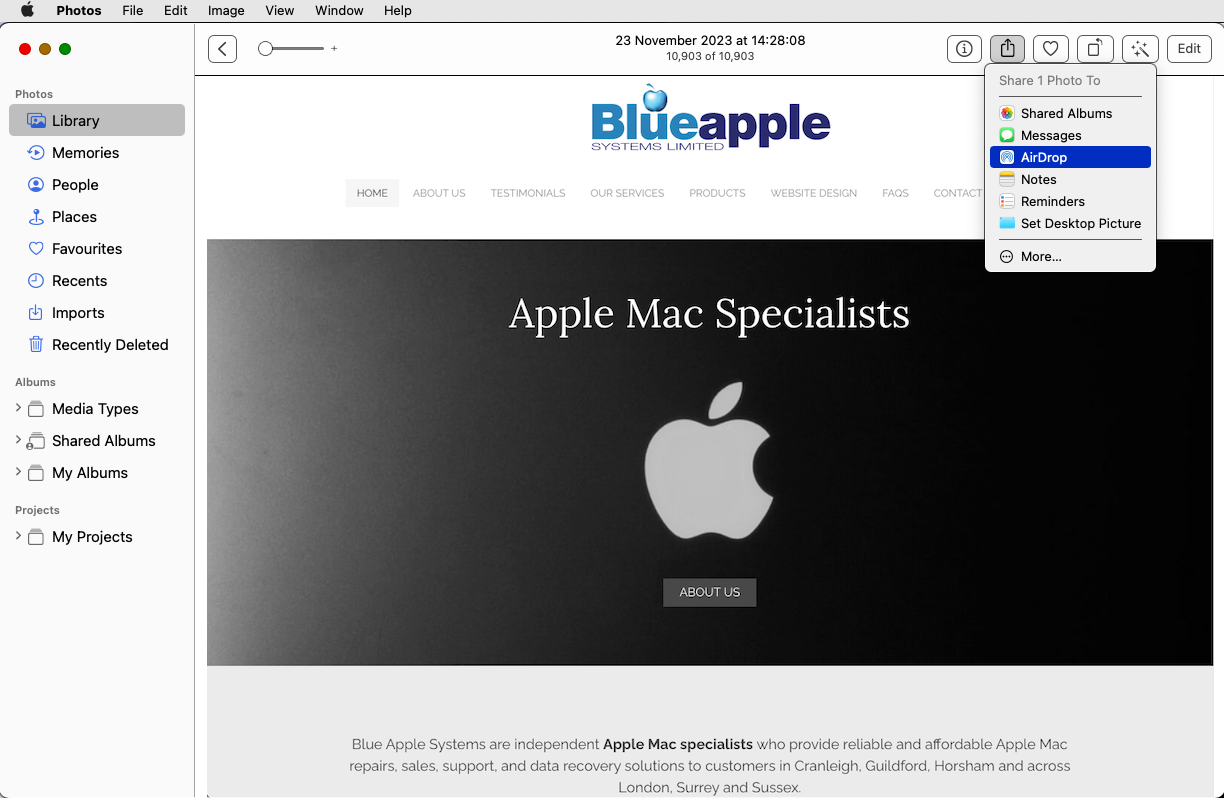
Sending from within the Photos app on Mac:
Where do AirDrop files go to on Mac and iPhone?You’ve accepted a file via AirDrop on your Mac or iPhone/iPad, but where do the files go to?
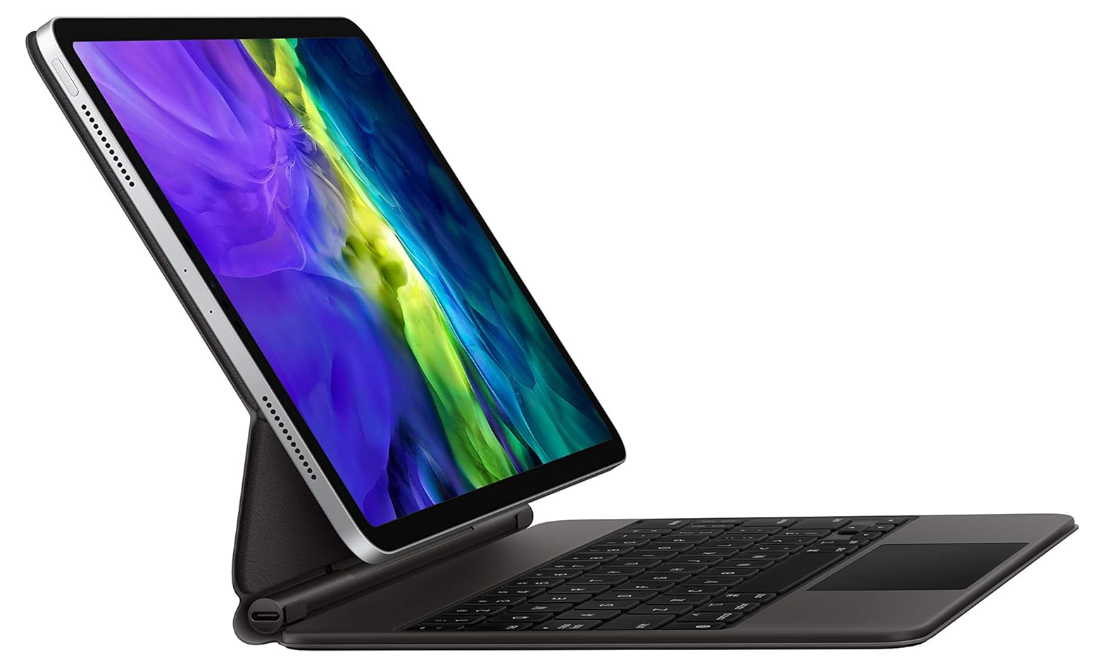
We’ve had a few customers ask us whether they can use an iPad Pro in place of a MacBook Air? And our answer is usually, ‘It depends’. 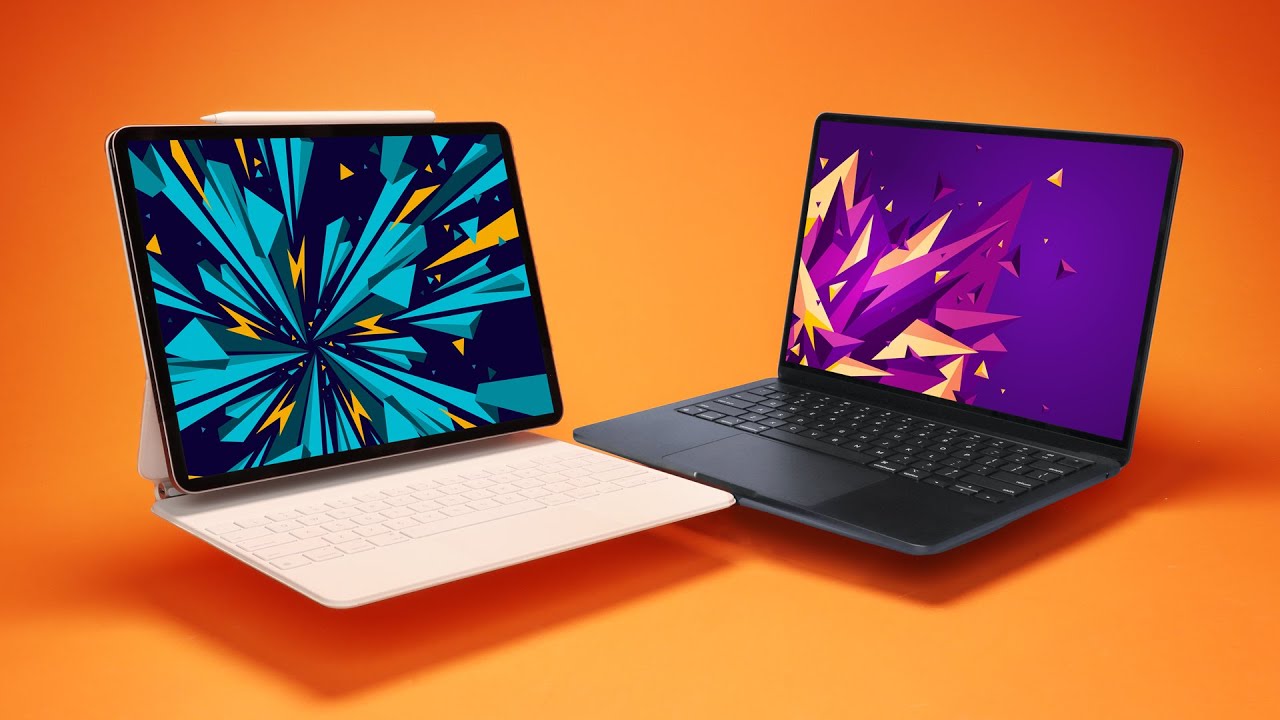 At first glance, the latest iPad Pro and MacBook Air (13 and 15 inch) have a lot in common:
But there are also several differences between them:
Which one you choose depends on what you are looking for and what you are going to use it for. Here we compare some of the main features of each device. DisplayThe main difference here is obvious: the iPad Pro has a touch display. But the superiority of the iPad Pro display doesn’t end there. The brightness of a display is measured in ‘nits’. The MacBook Air’s display has a maximum of 500 nits brightness, whereas the iPad Pro models have 600 nits max brightness, with the 12.9-inch model supporting up to 1000 nits max full-screen brightness and 1600 nits peak brightness for HDR content. Both iPad Pro models also work with the second-generation Apple Pencil, including Apple Pencil hover, a feature that was introduced last year. So, the iPad Pro screens not only have a touch display, but they are brighter than the MacBook Air. If a touch display and / or screen brightness is important to you, or if you are an artist, or someone who prefers taking handwritten digital notes, then the iPad Pro is the winner in this category. Keyboard & StorageOne factor that most people seem to agree upon is that if you are planning to use an iPad Pro in place of a laptop, then you’re going to need to buy a keyboard. The price of keyboards varies hugely, from Apple’s own iPad companion Magic Keyboard, down to cheaper versions which can be sourced from companies like Amazon.
In terms of storage, the 11-inch iPad Pro’s base model comes with 8GB of RAM and 128GB of storage. The MacBook Air M2 base model comes with 8GB RAM and 256GB of SSD storage. If you add the price of an Apple Magic Keyboard to the price of the 11-inch iPad Pro, it costs virtually the same as a MacBook Air, with its inbuilt keyboard and trackpad. But the MacBook Air removes the headache of finding a reasonably priced keyboard, AND you get double the storage capacity. If value for money is your main driver, then the MacBook Air wins out here. Software & AppsAnother major difference between the iPad Pro and the MacBook Air M2 is the operating system, with the iPad Pro running on iPad OS and the MacBook Air running on macOS. The range of apps that are available on the iPad Pro, particularly apps that demand higher levels of RAM (such as Final Cut Pro X or Logic Pro X) is less than for the MacBook Air, although they both run Microsoft Office (if you use the free versions of the iPad apps you can see your Word, Excel and Powerpoint documents, but you’ll need an Office 365 subscription to edit and create new documents). Apps such as Garage Band and iMovie run pared-down versions on the iPad. Furthermore, M2 Macs can now run iPadOS apps, but iPads can’t run some macOS apps.
If you need the full version of any particularly RAM-hungry apps, such as the ones mentioned above, then the MacBook Air is the one for you ConnectivityOne very specific advantage of the iPad Pro is its cellular connectivity option. With the addition of a SIM card, you can take the iPad Pro on the train for example, and with a 4G or 5G connection you’ll be able to work, stream music, videos or play games without the need to connect to the hotspot on your iPhone. In terms of physical ports, the MacBook Air has more than the iPad Pro: two USB Thunderbolt 4 ports and a 3.5mm audio jack, vs only one Thunderbolt 4 port on the iPad Pro. This means that you can charge the MacBook Air whilst also plugging in another device, whereas with the iPad Pro the only way you can achieve this is to purchase a separate Thunderbolt dock. If you like to take a device out and about (one that has a larger screen than your iPhone), don’t want the hassle of connecting to a hotspot and don’t generally need to connect other devices, then the iPad Pro is going to be best suited to your needs Battery LifeThere’s no getting away from it, the MacBook Air has a substantially longer battery life than the iPad Pro – 50% longer in fact (15 hours for the MacBook Air vs 10 hours for the iPad Pro – which reduces to 9 hours if you get one of the cellular models). So, if battery life is a top consideration for you, the MacBook Air is a clear winner. Which One is Right for Me?Overall, the better device is the MacBook Air: you simply get more for your money – more storage, more ports, more high-end apps, a built-in keyboard / trackpad and a longer battery life.
The iPad Pro serves more of a niche market, but if a touchscreen and cellular connectivity are non-negotiables for you, then it’s an obvious choice. Just be aware that, if you also purchase a keyboard and thunderbolt dock, it may end up costing you more than a MacBook Air. |


 RSS Feed

Blue Apple Systems Ltd
Unit 6 Alfold Business Centre Loxwood Road, Alfold Surrey, GU6 8HP 01403 753666. |
Blue Apple Systems Limited is authorised and regulated by the Financial Conduct Authority. Blue Apple Systems Limited is not a lender, but a licensed credit broker, licensed to introduce borrowers and lenders
for the purposes of entering into short-term leasing agreements. Blue Apple Systems Limited does not charge customers a fee for using its broker services, but receives a 1.5% to 2% commission from lenders if a customer enters into a consumer credit agreement with a lender following introduction. © Blue Apple Systems Ltd 2015. All Rights Reserved. Blue Apple Systems Ltd is registered in the UK. Company registration number 05110252. VAT No 827058618. All prices are subject to VAT at the current rate of 20%. |